For years, I’ve had all of my necklaces separated by color into a little set of drawers. I rarely wore them because I didn’t really think about it. I decided that in order for me to wear them, I actually needed to see them so I would remember they exist. I came across this tutorial for a necklace holder and I knew that was the solution.
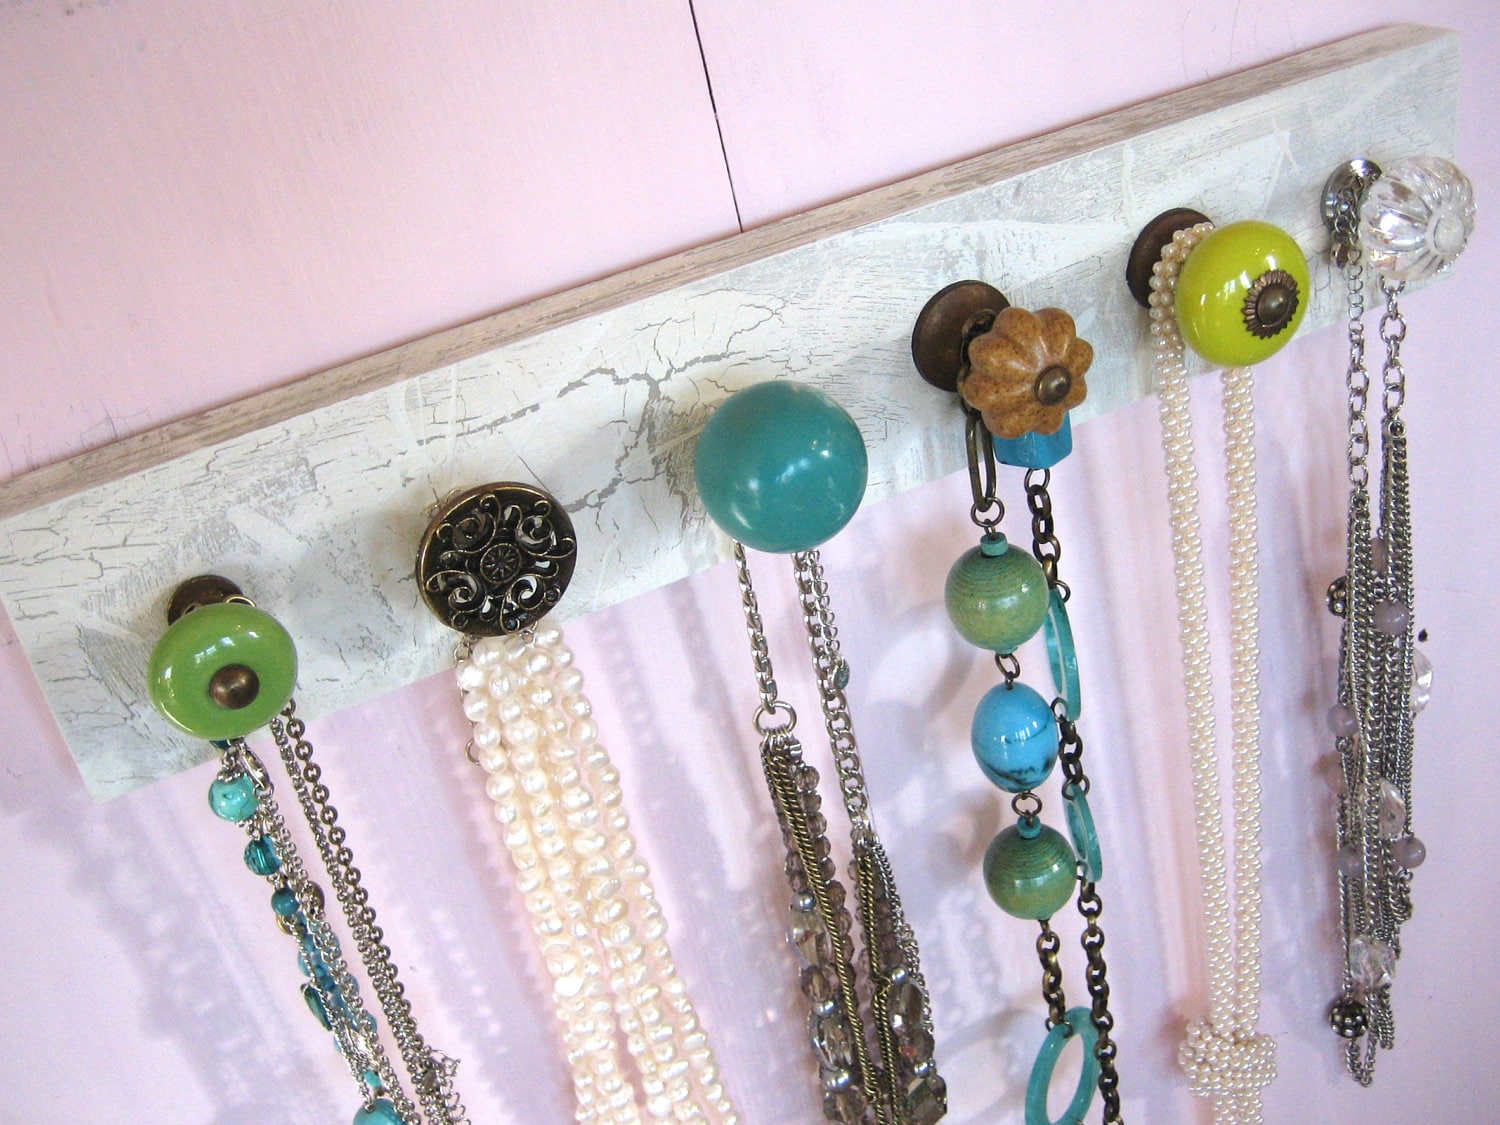
The tutorial there is great, so I’m not going to repeat it here. I will share pictures of my finished product, though, as well as some tips based on my experience making it.
A little about my supplies. I really wanted to find some vintage knobs, but the local antique store didn’t have any, and shipping charges would have made ordering some from somewhere like Etsy cost more than I really wanted to put into this project. I ended up going to Hobby Lobby with a 40% off coupon. They have a huge selection, many of which are vintage-looking, and most of them are around $3-4 (before discount). My dad pulled the wood out of a creek for me. We live in an old mill town, so the wood is actually an old floorboard from one of the mill buildings.
The part of this project that may cause the most questions or confusion is attaching the knobs. If I had just drilled holes in the wood and attached the knobs as I bought them, extra screw length, washer, and nut sticking out on the back would have prevented me from hanging the slab of wood flat against the wall. The girl who wrote the tutorial…well, here’s what she said in a comment, “I used the knobs with the screw head on the back so it was flush with the wood. The knobs screwed in from the back to the front (into the knob) so I didn’t have to cut off the extra metal.” If the knobs you use are made like hers, then great. Mine were not, however.
In order to attach mine, I didn’t use the washers and nuts that came with them. First, I measured the thickness of the wood to determine the length the screws needed to be. I (my dad, actually) put the knob in a vice to hold it securely while sawing, and used a hacksaw to cut the screw to the needed length (please only do this if you have experience using a hacksaw. Find someone with experience to guide you or do it for you if you’ve never used one).
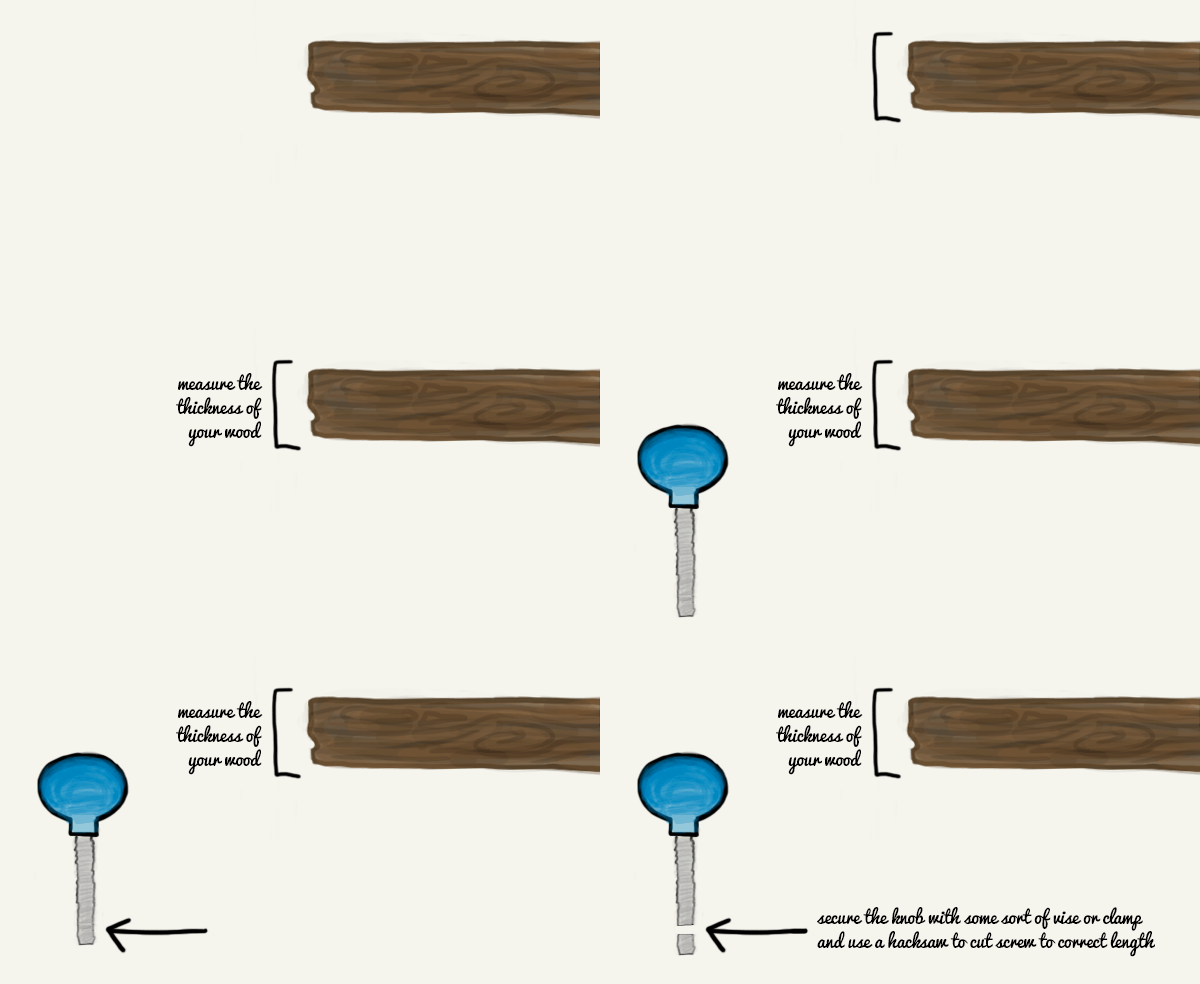 Once they’re the right length, just screw them into the holes you drilled in the wood. As long as you’re not hanging ship anchors on them, they should be secure enough.
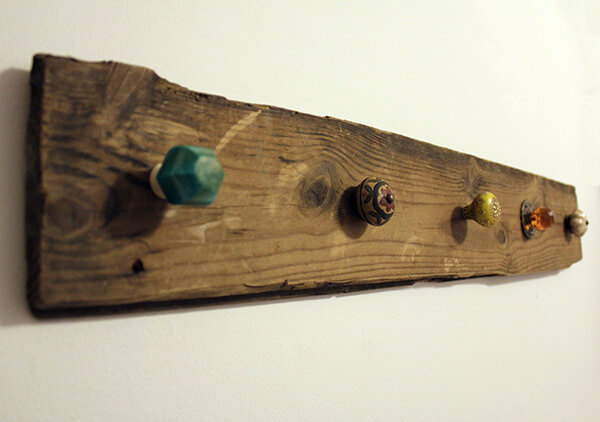
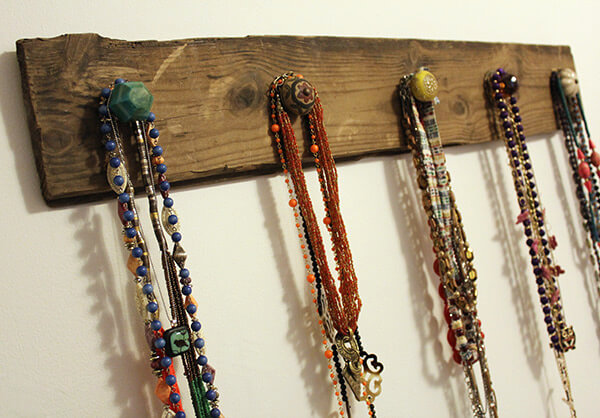
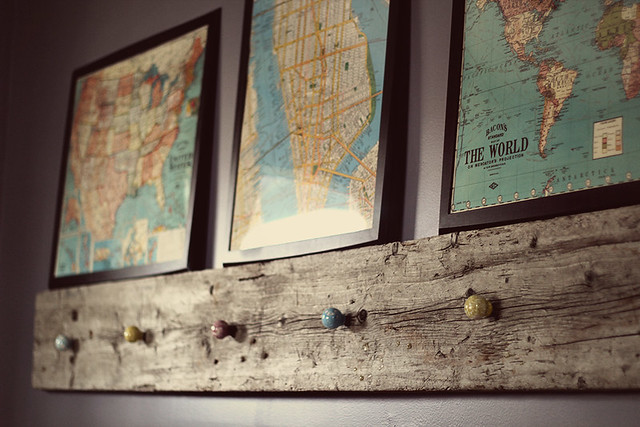
I love my new necklace holder (above) and I have indeed been wearing my necklaces more often. Below are a few more pictures of this same project done by others (each linked to original source).






6 Comments
I absolutely love how yours turned out! I’ll have to make one sometime: it’s pretty.
Thank you! And thanks for reblogging!
You’re welcome!
Reblogged this on pinterestgirl95 and commented:
I love how hers turned out.
Another good DIY!
This came out so cute – great job!